Install Cloudflared to enable DoH Network on Raspberry Pi 4 and Pi-hole
How to Install Cloudflared to enable DoH Network on Raspberry Pi 4 and Pi-hole. Solution to the error "Incorrect Usage: flag provided but not defined: -legacy".

Tunneling to DNS Benefits
Secure tunnel with privacy and ECS, metrics and you get into their product offering of their Secure Access Service Edge (SASE) suite of gateway and access groups to secure your server. This allows you to get benefit from malwares blocking, firewall control to fight bots and user access control for your hosted apps.
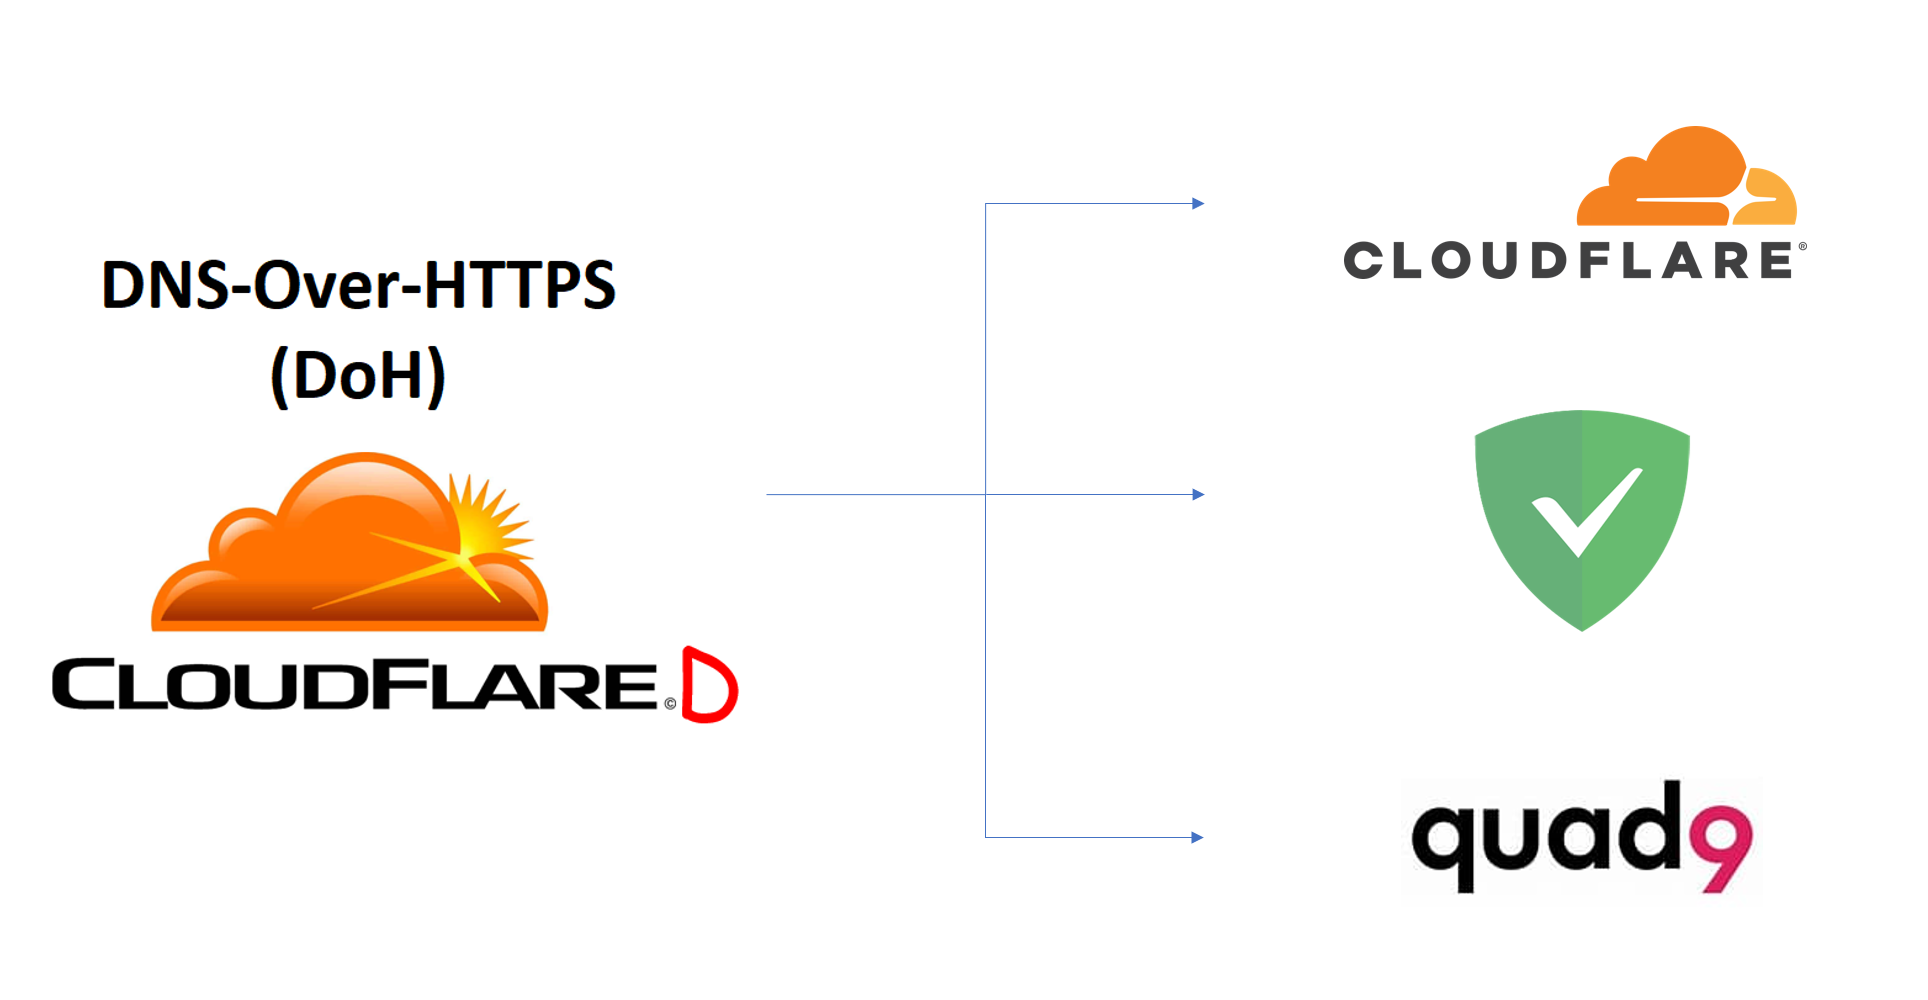
DNS over HTTPS (DoH)
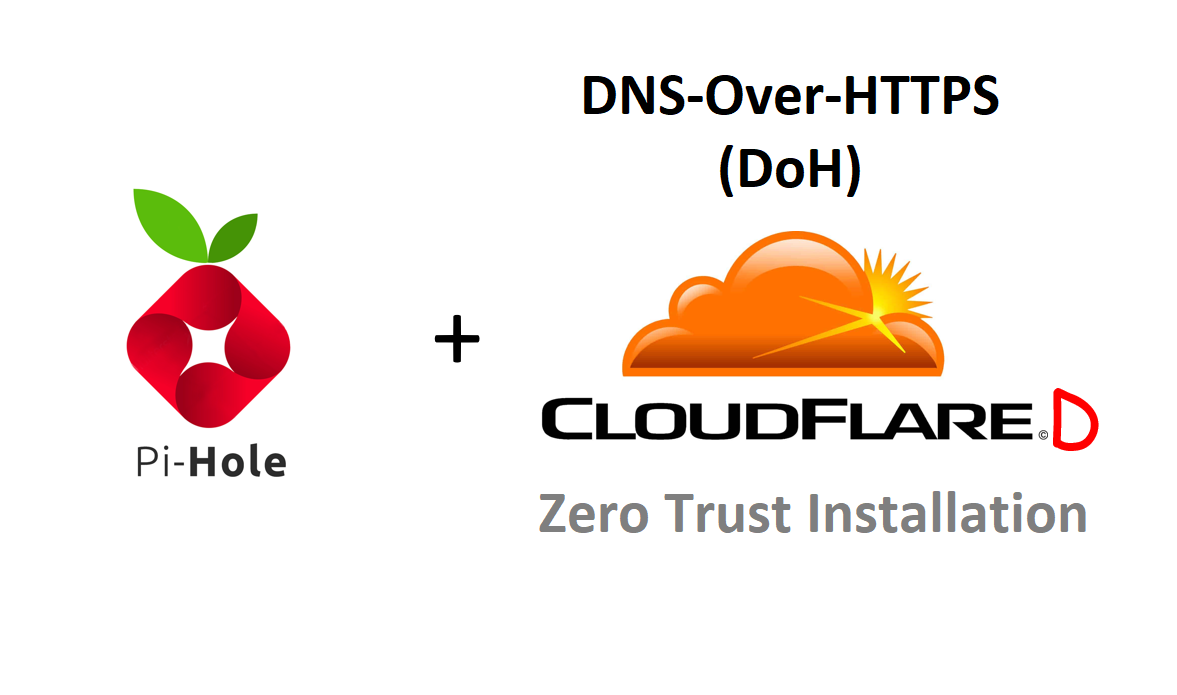
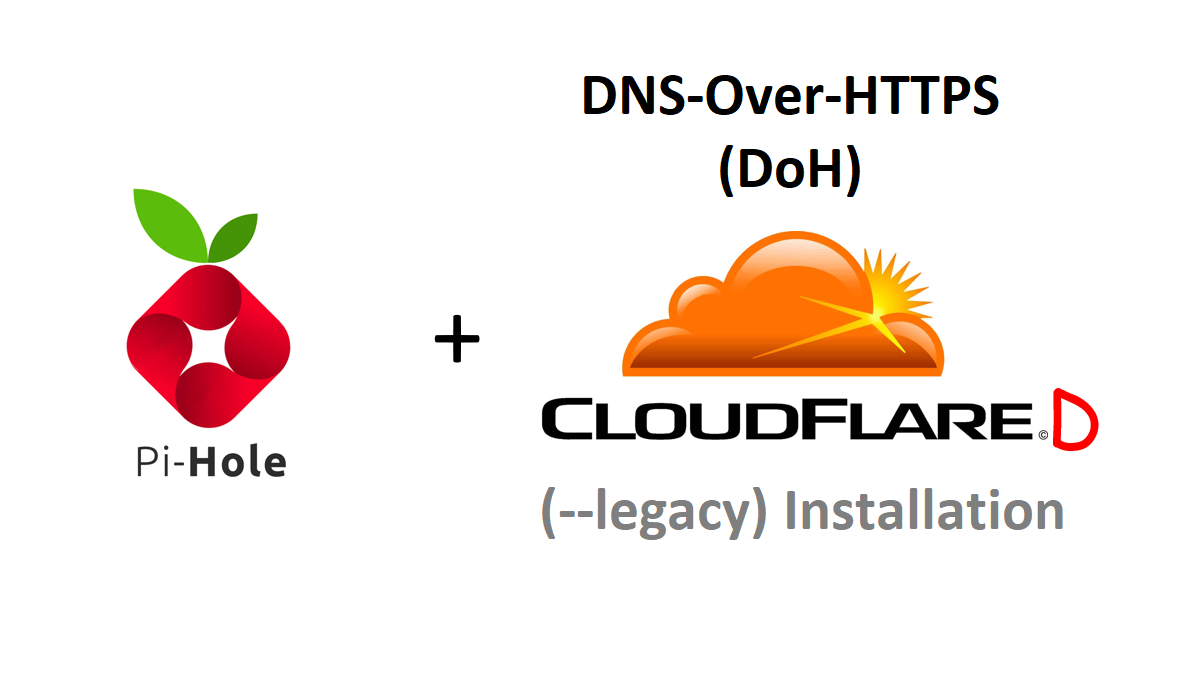
DoH is an end-to-end DNS transfer over https to take out leaks from a hacker. This ensures DNS packets only goes from your network to Cloudflare. On my previous blog, I used the legacy installation, which newer versions doesn't let you do as of October 10, 2020. I found myself switching to Cloudflare's "Zero Trust" so I can achieve DoH on my Pi-hole.
Cloudflared Installation
Since legacy installation no longer works, these steps are similar to the legacy installation, but it requires you to have domain on Cloudflare.
So, if you don't have a domain on Cloudflare, I believe at this moment, it does not offer an alternative. Cloudflare needs https to access to an https to establish "Zero Trust" on tunnels and servers.
"...requires you to have domain on Cloudflare"
If you previously installed the -legacy installation of Cloudflared, you get a prompt message that it does not work anymore. Below is an example when you try to use the legacy installation. If you get this message, you're in luck! Next steps will show you tunnel installation.
pi@raspberry:~ $ sudo cloudflared service install --legacy
Incorrect Usage: flag provided but not defined: -legacy

NAME:
   cloudflared service install - Install cloudflared as a system service

USAGE:
   cloudflared service install [command options] [arguments...]

OPTIONS:
   --help, -h  show help (default: false)
Project Objective
Mainly focus on a Raspberry Pi 4 64-bit installation, but can be installed on many distributions, just change download to your own architecture needs.
Here are some TLDR objectives:
- Install Cloudflared.
- Create a gateway tunnel on Cloudflare.
- Place tunnel credentials on Cloudflared config.yml.
- Launch systemd service of Cloudflared.
To get DNS-Over-HTTPS (DoH) on a Raspberry Pi using Cloudflare's Cloudflared configuration on a stable Pi-hole server. I picked a non-docker environment to isolate DNS, VPN and Cloudflared on the server.
If you have not setup your pi-hole for your HomeLab DNS sinkhole, check out the installation process on my previous blog below:
 Felix Lincuna
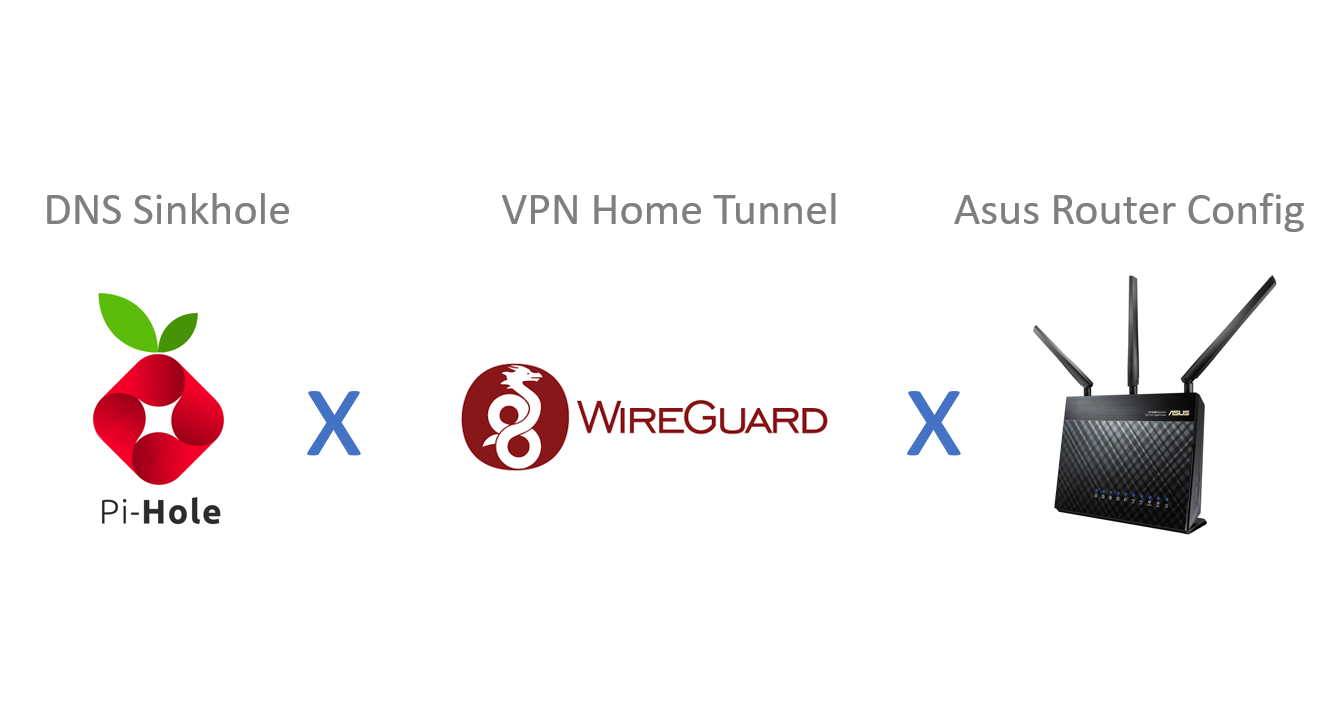
Find Current Architecture
To make sure you install the right assets for your stack.
This example uses: Raspberry Pi 4 on 64-bit.
cloudflared-linux-arm64
If you are not running cloudflared-linux-arm64, I suggest you check your architecture on Cloudflared's recent release assets on GitHub.
Pull Cloudflared from GitHub
Install Cloudflared package by putting the following commands on CLI that matches your architecture on your hardware.
Note: If you change your architecture to amd64, be sure to changesudo cp ./cloudflared-linux-arm64to your own. E.g.sudo cp ./cloudflared-linux-amd64
wget https://github.com/cloudflare/cloudflared/releases/latest/download/cloudflared-linux-arm64
sudo cp ./cloudflared-linux-arm64 /usr/local/bin/cloudflared
sudo chmod +x /usr/local/bin/cloudflared
Cloudflared Version
Check successful git-pull by running the command and see if you have the latest version.
sudo cloudflared -v
Prepare Your Tunnel
By creating a tunnel, you have to login:
- CLI Create a tunnel by putting below on your CLI. (
Preffered) - Cloudflare account via https://dash.cloudflare.com. (
optional)
cloudflared tunnel login
Then it will prompt you to click a link that logs you into your Cloudflare Dashboard.

When you click on it, it takes you to the Dashboard and select a domain you "already own" in Cloudflare or linked into Cloudflare.
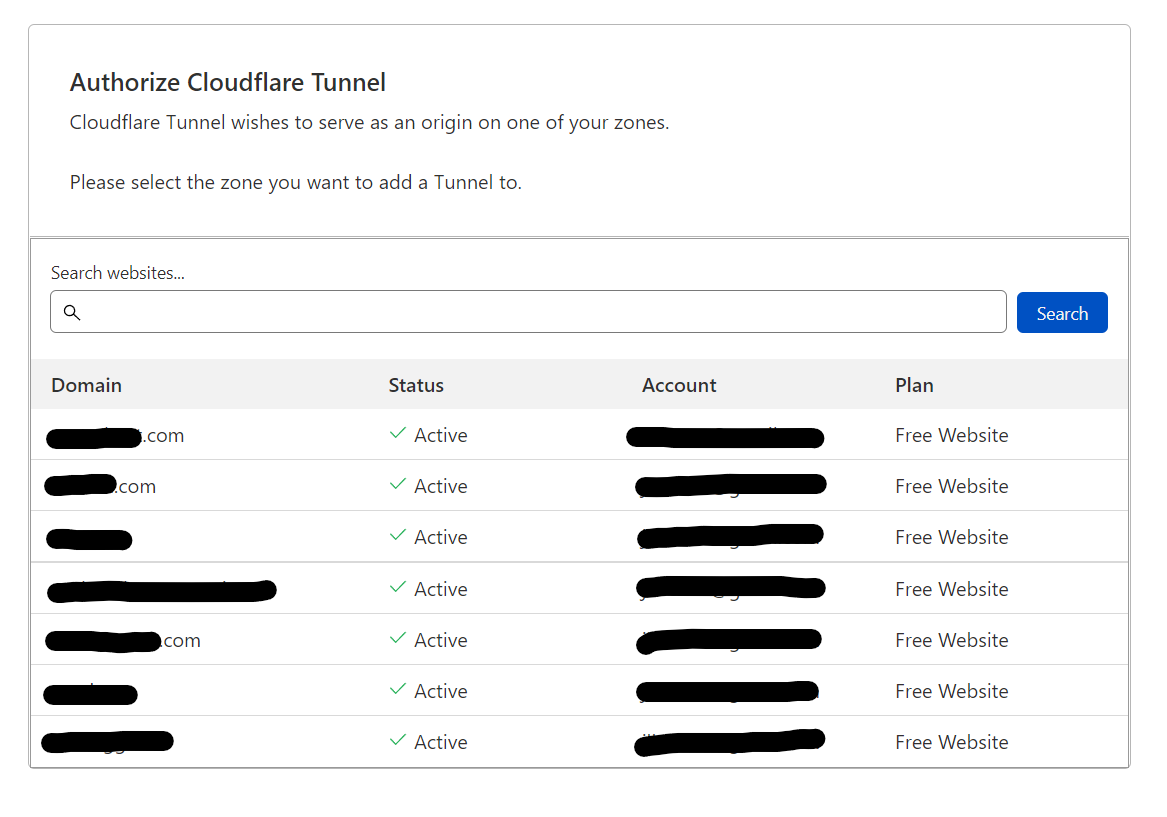
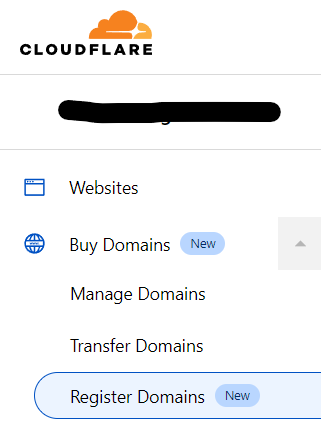
If you do have one a domain, you can purchase through the dashboard.
After selecting your domain Authorize to continue.
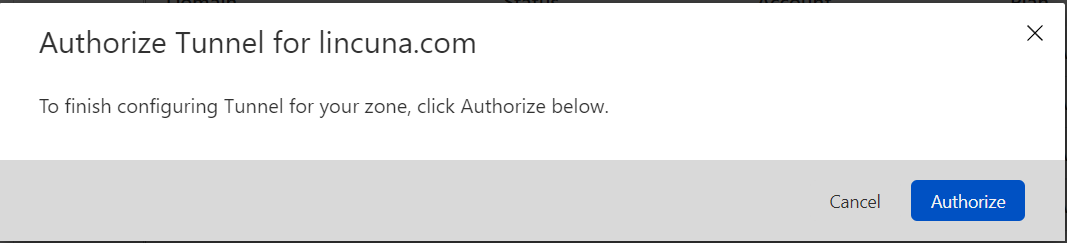
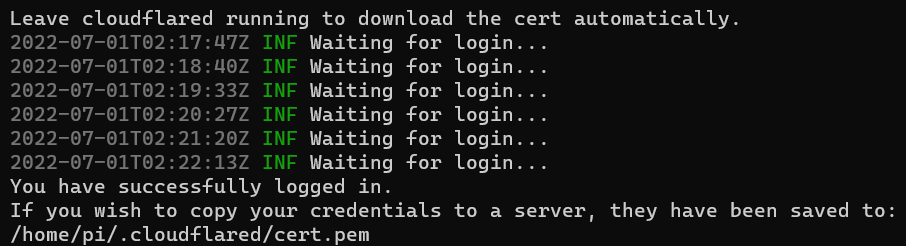
Then it will go to success. Now you can go back to your CLI.

When you go to your CLI, you can see that it was a successful in connecting.
Now, move your folder to your /etc/cloudflare/ so Cloudflared has access to your certification tunnel.
sudo mv /home/pi/.cloudflared/cert.pem /etc/cloudflared/
Create your tunnel for this instance.
For our example, tunnel is pihole.
sudo cloudflared tunnel create pihole
When you enter you will get your:
tunnelcredentials-file
Example on what you see on the CLI:
pi@raspberry:~ $ sudo cloudflared tunnel create pihole
Tunnel credentials written to /etc/cloudflared/12345678-1234-1234-1234-123456789123.json. cloudflared chose this file based on where your origin certificate was found. Keep this file secret. To revoke these credentials, delete the tunnel.

Created tunnel pihole with id 12345678-1234-1234-1234-123456789123
Example on what you will insert on the config:
tunnel=12345678-1234-1234-1234-123456789123credentials-file=/etc/cloudflared/12345678-1234-1234-1234-123456789123.json
When you get your tunnel and credentials-file, add them to your config.yml.
Configuring Cloudflared Directories
Before installing, create your directories.
Make a Directory
sudo mkdir /etc/cloudflared/
sudo touch /etc/cloudflared/config.yml
Access the Configuration
sudo nano /etc/cloudflared/config.yml
Copy and Paste the Following Configuration:
For tunnel and credentials-file, this configuration comes from logging on Cloudflare, creating a domain and set up your Argo tunnel. Essentially, you want to replace [your-tunnel-id] and [your-tunnel-file-location] with your own, which will be shown on the next steps.
tunnel:
credentials-file:

proxy-dns: true
proxy-dns-port: 5053

proxy-dns-upstream:
# IPv4 DoH
  # Cloudflare - Unfiltered Fast DNS
  - https://1.1.1.1/dns-query
  - https://1.0.0.1/dns-query
  # Cloudflare - Malware Blocking
  #- https://1.1.1.2/dns-query
  #- https://1.0.0.2/dns-query
  # Quad9 - Malware Blocking, DNSSEC Validation
  #- https://9.9.9.9/dns-query
  #- https://149.112.112.112/dns-query
  # Quad9 - Secured w/ECS: Malware blocking, DNSSEC Validation, ECS enabled
  #- https://9.9.9.11/dns-query
  #- https://149.112.112.11/dns-query
  # AdGuard - Default With Ad-block
  #- https://94.140.14.14/dns-query
  #- https://94.140.15.15/dns-query

# IPv6 DoH
  # Cloudflare - Unfiltered Fast DNS
  #- https://[2606:4700:4700::1111]/dns-query
  #- https://[2606:4700:4700::1001]/dns-query
  # Cloudflare - Malware Blocking
  #- https://[2606:4700:4700::1112]/dns-query
  #- https://[2606:4700:4700::1002]/dns-query
  # Quad9 - Malware Blocking, DNSSEC Validation
  #- https://[2620:fe::fe]/dns-query
  #- https://[2620:fe::9]/dns-query
  # Quad9 - Secured w/ECS: Malware blocking, DNSSEC Validation, ECS enabled
  #- https://[2620:fe::11]/dns-query
  #- https://[2620:fe::fe:11]/dns-query
  # AdGuard - Default With Ad-block
  #- https://[2a10:50c0::ad1:ff]/dns-query
  #- https://[2a10:50c0::ad2:ff]/dns-query
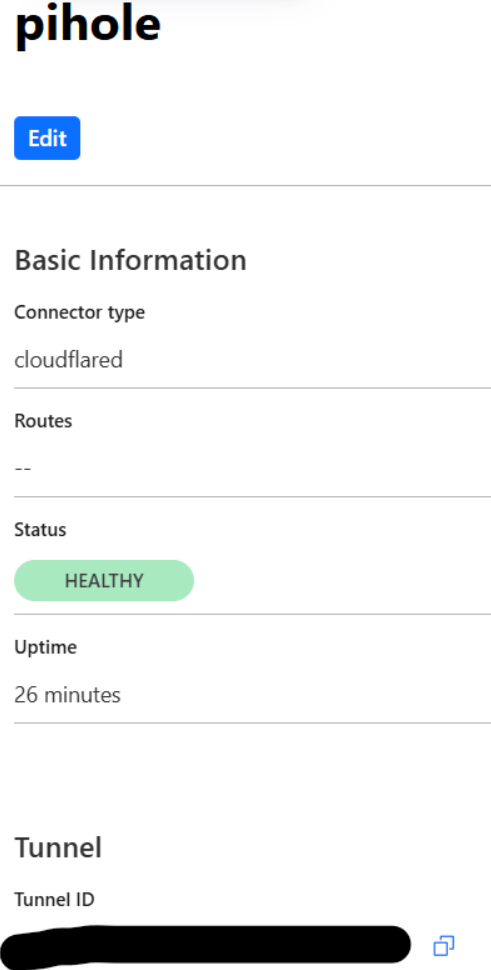
Cloudflared Tunnel & Credentials Locations
Tunnel, can be found in Zero Trust / Network/ Tunnels or after after sudo cloudflared tunnel create pihole.
Credentials, can be found after sudo cloudflared tunnel create pihole or the .json file located in /etc/cloudflared/ .
sudo nano /etc/cloudflared/config.ymltunnel: 12345678-1234-1234-1234-123456789123
credentials-file: /etc/cloudflared/12345678-1234-1234-1234-123456789123.json
proxy-dns: true
proxy-dns-port: 5053
proxy-dns-upstream:
...
Cloudflared Installation
Now that you prepped your config, corrected your folders to the right destination and have the tunnel configurations, you are ready for installation.
sudo cloudflared service install

Start Service and Check
sudo systemctl start cloudflared
sudo systemctl status cloudflared
Start on Boot
Enable start on boot upon restart.
sudo systemctl enable cloudflared
Test Installation
dig @127.0.0.1 -p 5053 google.com
Should Show Similar Results:
; <<>> DiG 9.11.5-P4-5.1-Raspbian <<>> @127.0.0.1 -p 5053 google.com
; (1 server found)
;; global options: +cmd
;; Got answer:
;; ->>HEADER<<- opcode: QUERY, status: NOERROR, id: 12157
;; flags: qr rd ra; QUERY: 1, ANSWER: 1, AUTHORITY: 0, ADDITIONAL: 1

;; OPT PSEUDOSECTION:
; EDNS: version: 0, flags:; udp: 4096
; COOKIE: 22179adb227cd67b (echoed)
;; QUESTION SECTION:
;google.com.                    IN      A

;; ANSWER SECTION:
google.com.             191     IN      A       172.217.22.14

;; Query time: 0 msec
;; SERVER: 127.0.0.1#5053(127.0.0.1)
;; WHEN: Wed Dec 04 09:29:50 EET 2019
;; MSG SIZE  rcvd: 77
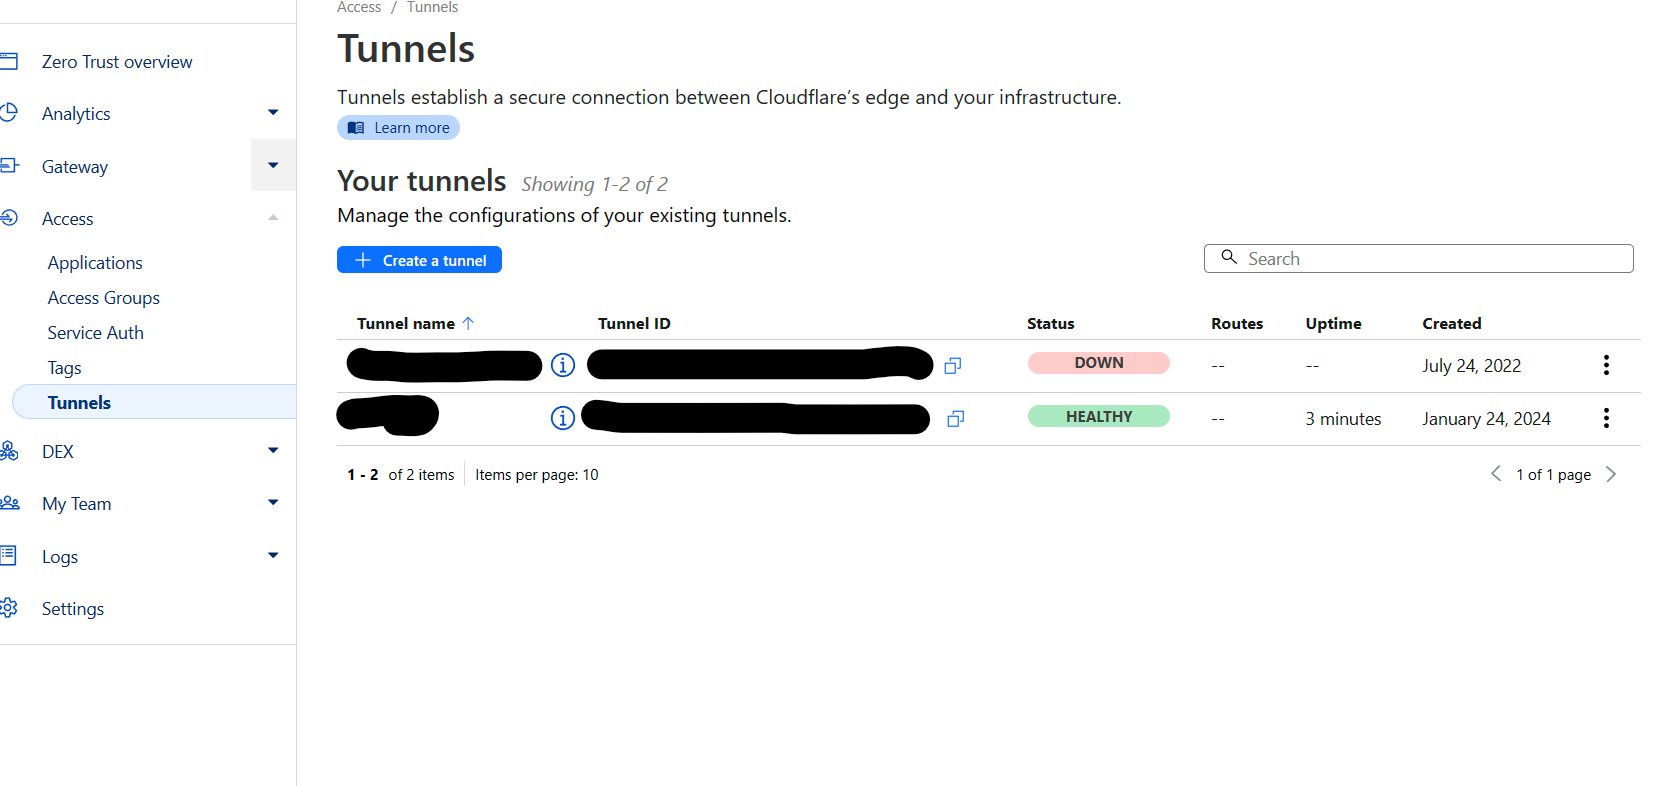
Test Connection to Cloudflare Zero Trust Tunnel
Go to dashboard and check to see if you tunnel is Healthy.
Pi-hole Configuration and Testing
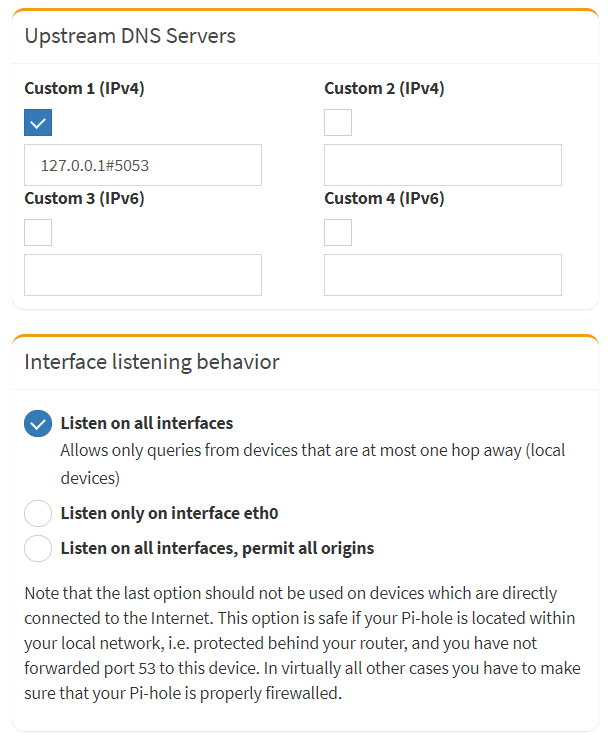
Advanced DNS settings
Configure Pi-hole to use the local Cloudflared service by specifying the Upstream DNS Servers on Custom 1 (IPv4) to 127.0.0.1#5053.
Leave Use DNSSEC unchecked on Advanced DNS Settings (Cloudflared handles this).
Optional: Update Listen on all interfaces, if you want it to work for mobile devices as well.
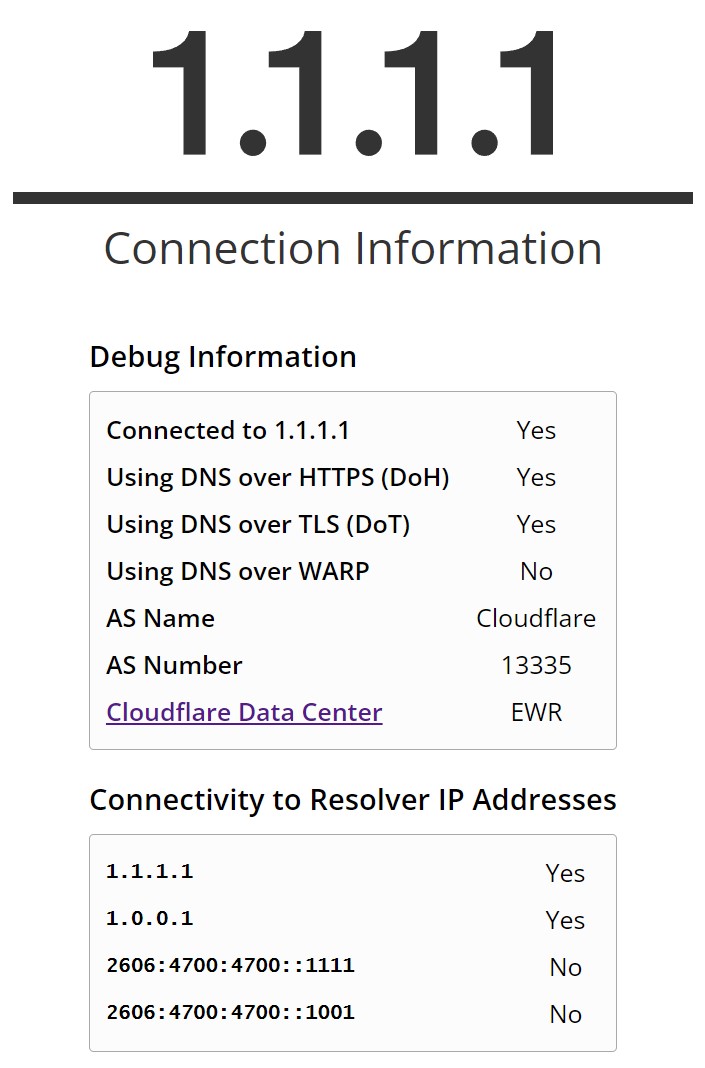
Test: DNS over HTTPS (DoH)
The goal is to achieve is a Yes on DoH. If you are unable to get a Yes, check your settings on your pi-hole and your router settings to make sure you are pointing out to the correct primary DNS for the network. To hit DoT on settings, check your router settings if you are able to enable this feature. FYI: Pi-hole/Cloudflared does not do DoT.
https://1.1.1.1/help
Other Tests: DoT, DNSSEC and DNS-Leak
Cloudflare ESNI Checker
DNSSEC Resolver Test
DNS leak test
Check Resolver IP Addresses
You can check where your upstream is.
sudo cloudflared proxy-dns
Post Installation for Cloudflared
Use post installation to update and remove from your system.
Configuration flags
Change config flags on /etc/systemd/system/cloudflared.service.
sudo nano /etc/systemd/system/cloudflared.service
From:
--no-autoupdate
To:
--autoupdate-freq 24h
Update
sudo cloudflared version
sudo cloudflared update
sudo systemctl restart cloudflared
Uninstall
sudo cloudflared service uninstall
sudo systemctl daemon-reload
Can I Use Another DNS Query for My Settings?
Check out my other blog to change flavors of your DNS:
Felix Lincuna