Pi-hole, WireGuard and Asus Router Configuration
Install Pi-hole DNS, WireGuard VPN and configure Asus router on any compatible Linux flavors.

Updated: 7/8/22
Project Overview
This can be used on a Raspberry Pi Pi Zero W or Pi 4 Model B running on 32-bit and 64-bit. The project uses a CLI script provided by the Pi-hole team and PiVPN team. This can also be used on almost all distribution Linux, which makes it well versatile project.

Things You Can Learn from This Project
Basic home networking, port forwarding, DNS, Linux, increase awareness in privacy and increase interest in home networking beyond setting up the router.
Review: Overall Thoughts
This is a satisfying project! When you see the amount of control you can do in your home networking and the number of blocked sites you are able to see, you feel a bit more in control of what goes in your network. With the availability of VPN, you can now bring your network on your mobile and connect SMB/CIFS using OpenMediaVault for NAS.

Why Use This in Your HomeLab?
Extra security by blocking un-wanted websites, create a local intranet, tunnel into your home network securely and extra privacy on your smartphone using WireGuard when connected to insecure Wi-Fi networks.
With the release of iOS 15, Apple added DNS connect on-demand feature on the settings which can be utilized when you want to connect to your mobile network. You can take advantage of using Cloudflare's 1.1.1.1 or 1.0.0.2 DNS for fast speed and secure network.
DNS and VPN Server Node
This solution was about optimizing both DNS and VPN in its own node server environment. When running Docker with multiple services such adding a web server, it can get hectic if ever that node fails.
So why isolate?
For the simple install process, price of a Pi 4 Model B and quick turnaround if the server ever fails without disruption on your Docker services.
Pi-Hole Install
SSH into your freshly installed node and use the install script on your CLI and follow the settings guide. If you are unsure on what to install, use the default installation settings for optimal settings. Most of the settings you are able to change later on http://pi.hole/admin.
curl -sSL https://install.pi-hole.net | bash

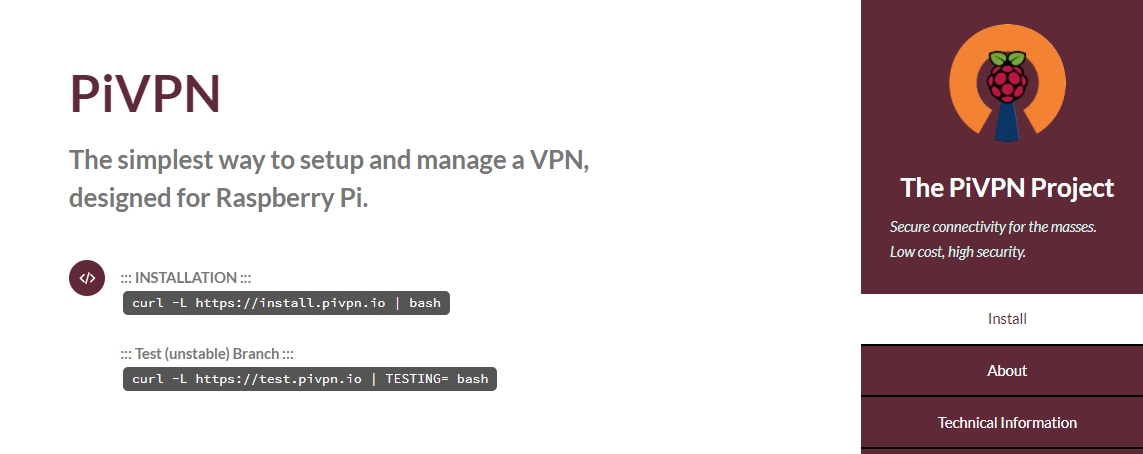
PiVPN Install
After successfully installing Pi-hole, use this script and follow default configurations for optimal settings.
curl -L https://install.pivpn.io | bash
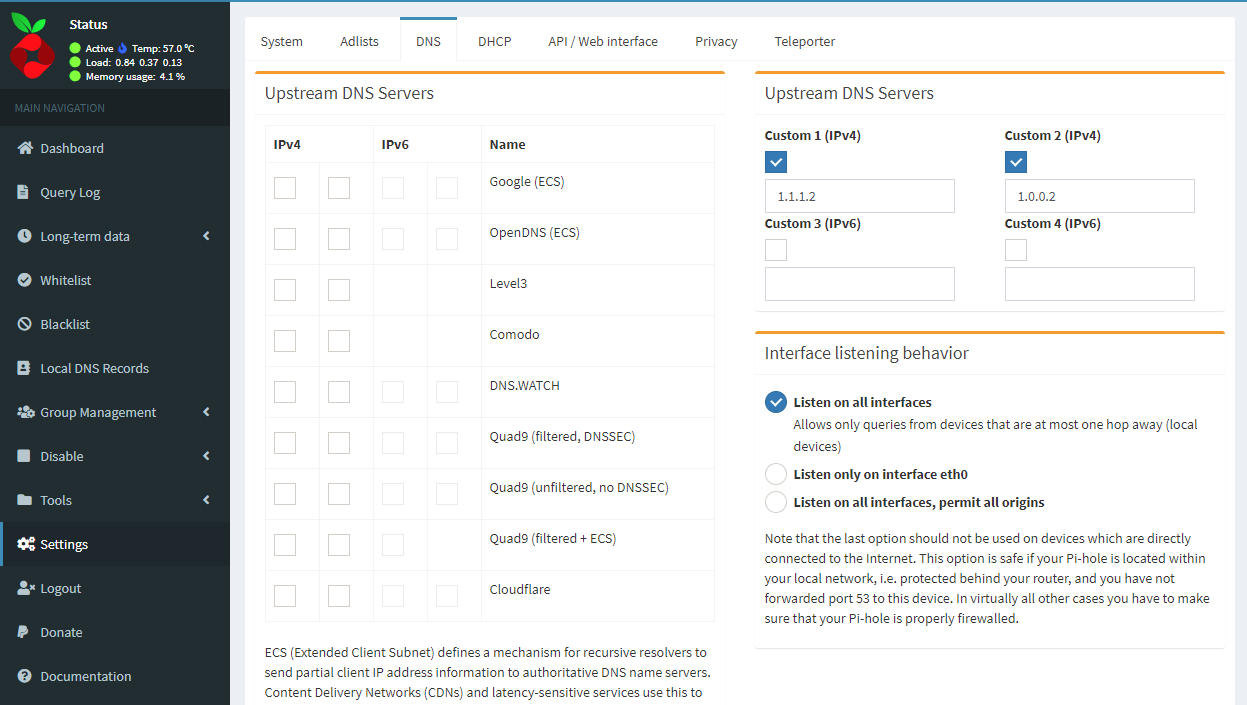
Post Installation Settings
Change configurations on your Pi-hole admin and router settings for network wide ad-blocking without changing IP addresses on individual devices.
Pi-hole Admin Login
http://pi.hole/admin
Optional: Go to settings/DNS and change to your Upstream to Cloudflare's 1.1.1.2 and 1.0.0.2 upstream servers for additional malware blocking on the custom IPv4 configuration.
Conditional Forwarding
On same DNS page when you scroll down, you are able to see conditional forwarding feature. By enabling, this ensures that DNS ad-blocks routes to your main router and still uses your router as the main DCHP server on your LAN.

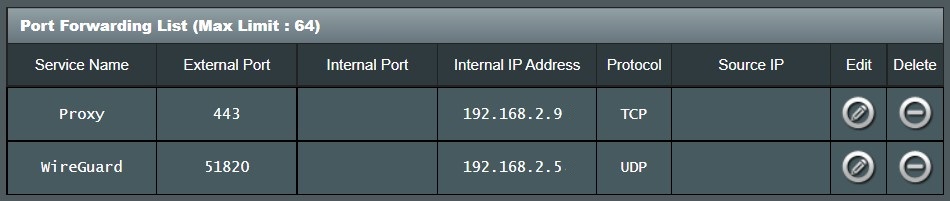
Router Settings
Go to your home router settings most likely around LAN/DCHP Server/DNS and WINS Server Setting and change put IP address of your Pi-hole provided by your router's DCHP.

To enable port forwarding for WireGuard add 51820 as the external port, UDP as protocol and IP address of your Pi-hole. If you have another router behind your current router (like a Verizon router or pfSense), you may need to open the port as well to work properly.
Live Testing
On your browser, check http://pi.hole/admin for Pi-hole to be live and check the query log to see domains and clients propagating. If you are able to see the queries, you have successfully installed it in your network. Restart your devices to grab the new DNS forwarding to the Pi-hole sinkhole.
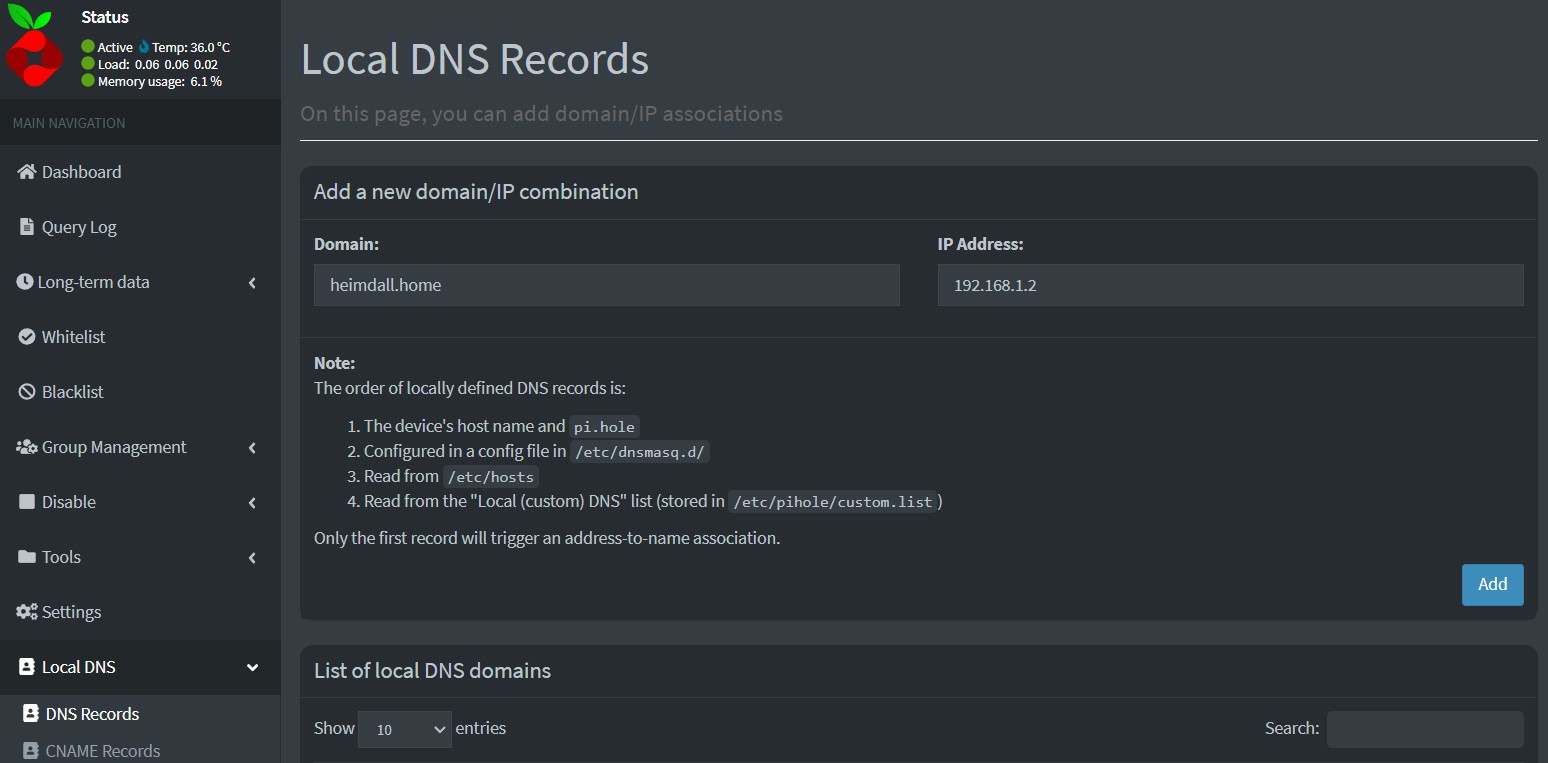
Create a Local DNS Record
Optional: When creating local reverse-proxy services in your network, you can add into your domain so you can virtually host your services locally.
Want more security?