How to Set Up a NAS Drive (Network-Attached Storage) on a Raspberry Pi
Install Openmediavault to build a NAS server for your homelab.


Raspberry Pi Image Install
Flash your device with Pi Imager and use 32-bit lite, since Openmediavault (OMV) is not compatible with desktop mode.
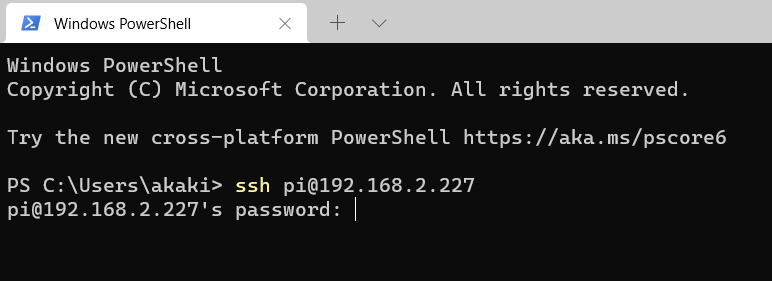
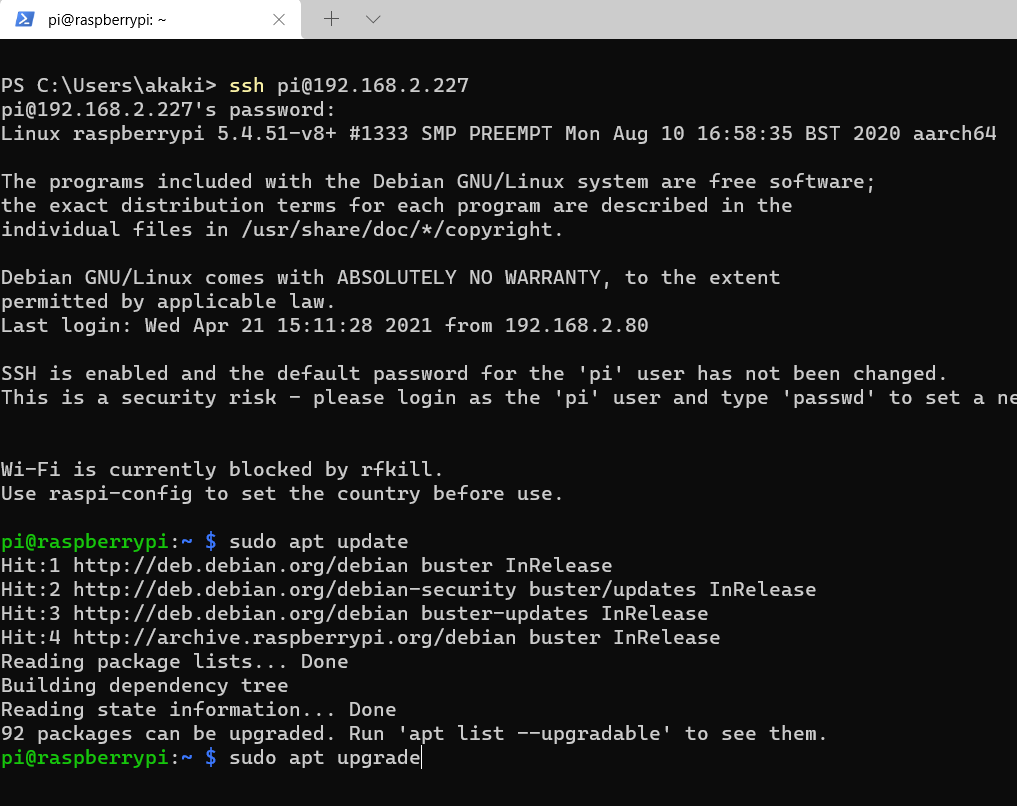
SSH to your Pi and use password "raspberry".
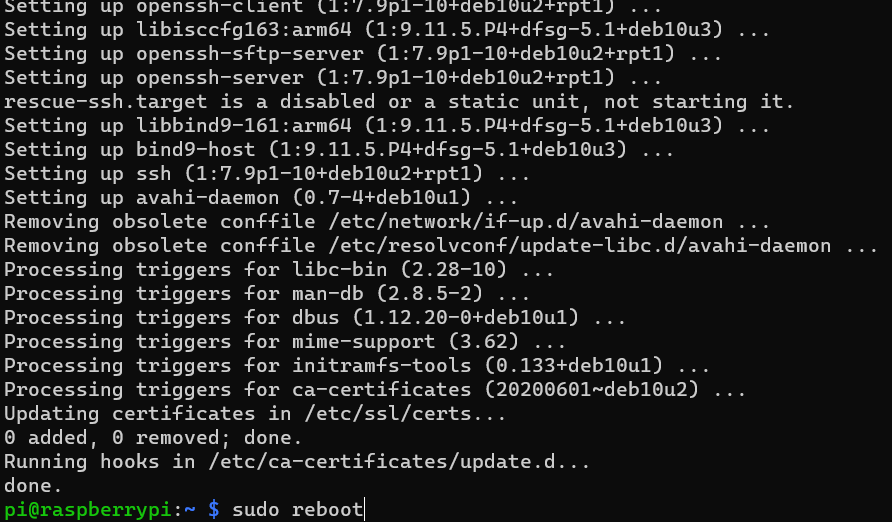
Update and unpack them by using sudo apt update and then sudo apt upgrade.
On [Y/n], type Y and enter to start unpacking it to your device.
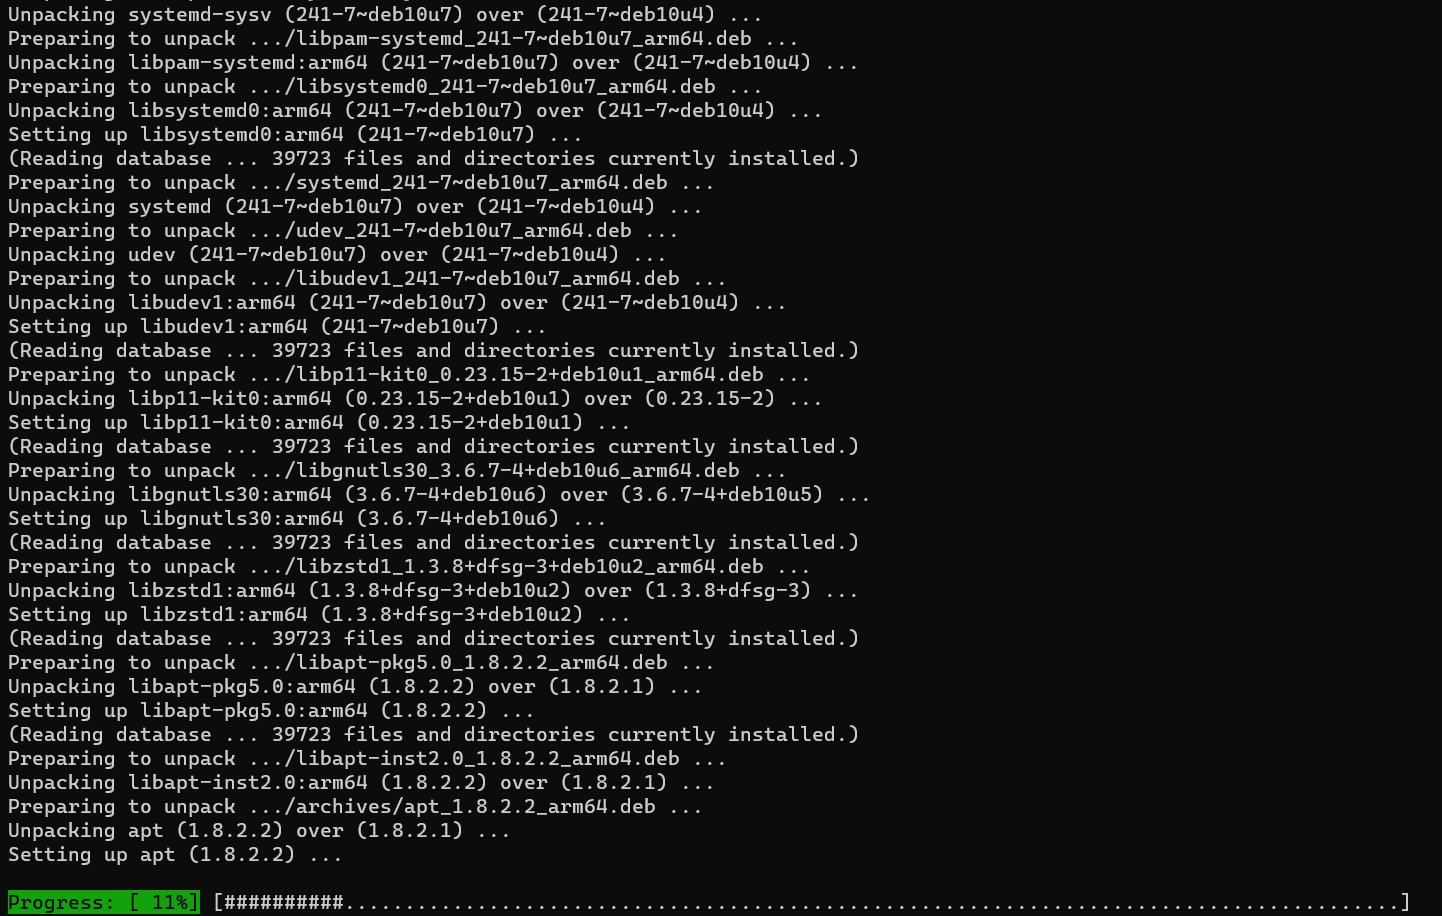
When the progress bar reaches 100% restart by sudo reboot.
NAS Installation
To install, copy and paste the wget script on the terminal and press enter.
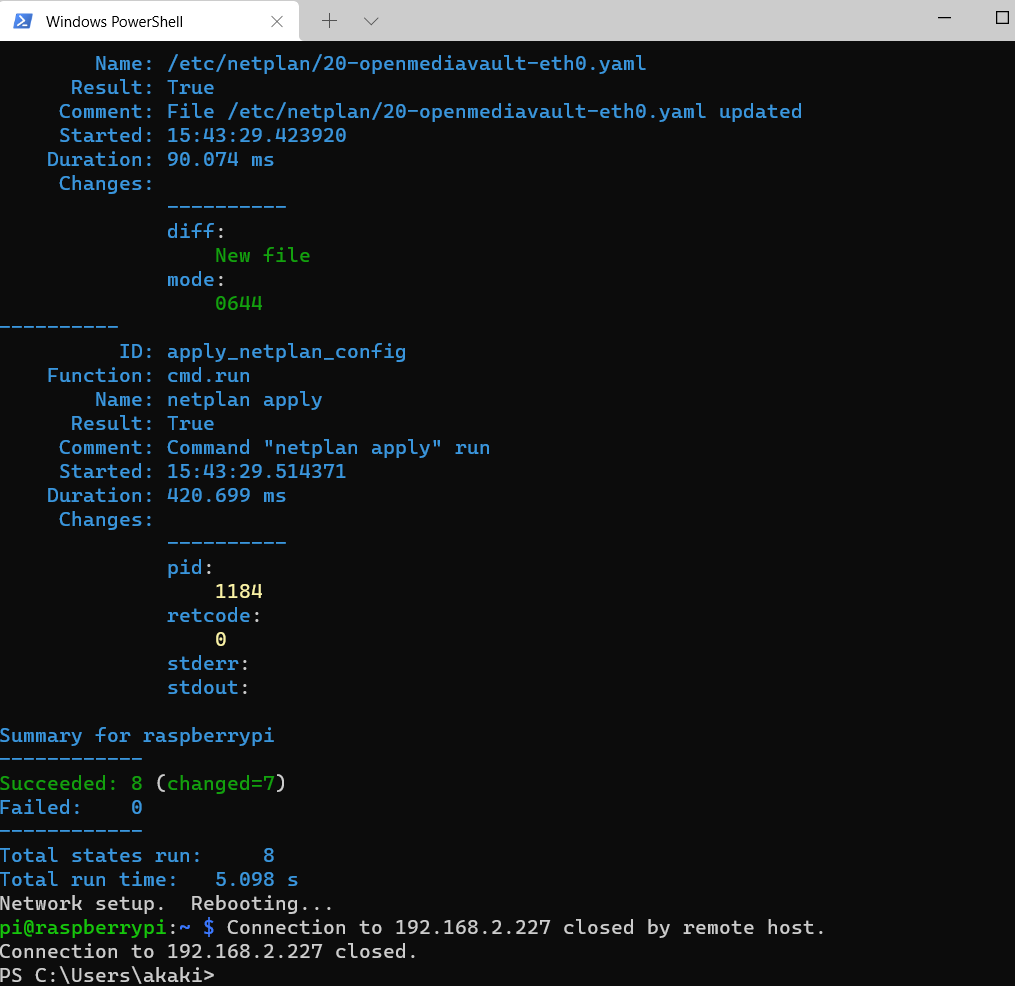
sudo wget -O - https://github.com/OpenMediaVault-Plugin-Developers/installScript/raw/master/install | sudo bash

After pressing enter, OMV is now being installed and will take around 15-30 minutes. For now just sit down do some web browsing and drink some coffee!
Make sure you finish the update until it's completely finished or you have to repeat.
TIP: if the update stops, don't be alarmed, it's still updating. Wait till the remote host terminal is completely on closed.
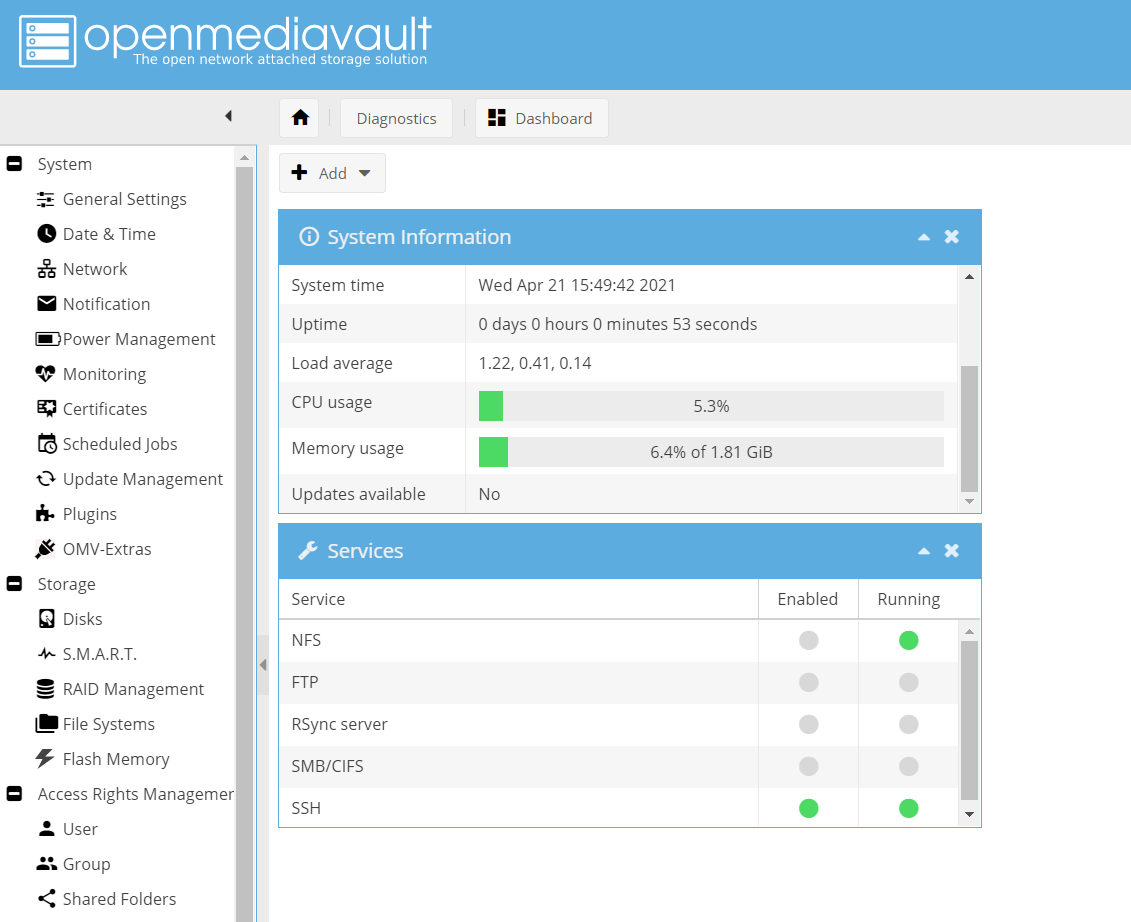
GUI Web Interface
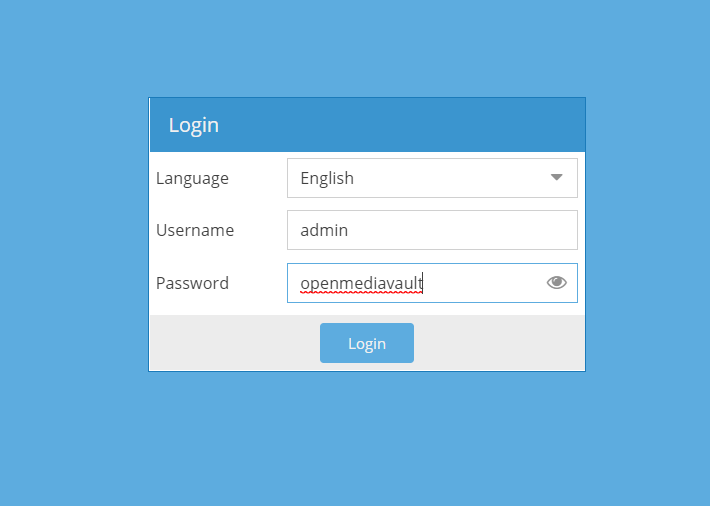
After complete installation, go to your favorite browser put the IP of your Pi and use "admin" and "openmediavault" as the default login credentials.
You are done! Now you can use your Pi for a NAS!